
Home security camera systems have become dramatically more accessible and affordable in recent years, but the software that ties everything together is often where users run into confusion. EseeCloud — developed by Guangzhou Juan IOT Technology Co., Ltd. — is the surveillance application that connects your IP cameras to your smartphone, tablet, Windows PC, or Mac, giving you a centralized view of your home’s security from anywhere in the world. This guide covers everything you need to know to set up, configure, and get the most out of EseeCloud for home security monitoring.
What EseeCloud Does and Why It Works for Home Security
EseeCloud (also known as IP Pro or VR Cam in its earlier versions) is a cloud-based video surveillance platform designed for IP cameras. Its primary function is providing remote access to camera feeds — live streaming, video playback, and event alerts — through an app or desktop client, without requiring the kind of complex network configuration that older surveillance systems demanded.
The latest version is 3.0.8.4, available for Windows, macOS, Android, and iOS. This multi-platform availability is one of EseeCloud’s strengths for home users: you can monitor your cameras on whatever device is most convenient at a given moment, and multiple family members can access the same cameras simultaneously from their own devices.
For home security specifically, EseeCloud’s key capabilities are:
- Live streaming of connected cameras in real time, from anywhere
- Motion detection alerts that notify you when movement is detected in camera zones
- Cloud and local storage for recorded footage
- Multi-camera viewing with split-screen layouts
- Historical playback with search by date, time, and event
- Two-way audio (on cameras that support it) for communicating through the camera
- Remote PTZ control (pan-tilt-zoom) on cameras that support it
The platform supports a wide range of IP cameras from multiple manufacturers, not exclusively proprietary hardware. This flexibility makes it possible to use EseeCloud with cameras you may already own.
What You Need to Get Started
Before setting up EseeCloud:
- Compatible IP cameras: EseeCloud works with most modern IP cameras that use standard ONVIF protocol or cameras specifically listed in its compatibility documentation. Check the EseeCloud app for your camera brand and model’s compatibility.
- Internet connection: Both the cameras and your monitoring devices (phone, computer) need internet access. The cameras transmit their feeds to EseeCloud’s cloud infrastructure, which your devices then access remotely. For best performance, cameras benefit from a wired ethernet connection or strong Wi-Fi.
- EseeCloud account: Unlike some surveillance apps, EseeCloud requires an account for cloud connectivity. Registration is free.
- The EseeCloud app or desktop client: Download from eseeclouddownload.com for Windows/Mac, or from the App Store/Google Play for iOS/Android.
Setting Up EseeCloud: Step-by-Step
Step 1: Install the App or Software
Download EseeCloud for your primary monitoring device from eseeclouddownload.com or your device’s app store. Create an account with your email address during the first launch.
Step 2: Add Your Camera
EseeCloud supports multiple methods for adding cameras:
QR Code Method (most common for new IP cameras):
- In the EseeCloud app, tap the + or Add Device button.
- Select QR Code Scan.
- Find the QR code on your camera (often on the bottom or back of the device, or in the packaging).
- Scan the QR code using the app.
- The app will detect the camera and guide you through connecting it to your Wi-Fi network.
- Enter your Wi-Fi password when prompted.
- The camera will connect and appear in your device list.
Serial Number / Device ID Method:
If your camera does not have a QR code:
- Find the camera’s serial number or Device ID (on the label on the device).
- In the app, choose Add by Serial Number.
- Enter the serial number manually.
- The app will locate and connect the camera.
IP Address Method (for network cameras already on your LAN):
- Ensure the camera is connected to your home network.
- Find the camera’s local IP address (usually shown in your router’s device list or in the camera’s own configuration interface).
- In EseeCloud, choose Add by IP/Domain.
- Enter the camera’s IP address, RTSP port, and any required credentials.
Step 3: Configure Camera Settings
After adding a camera, configure it for your specific security needs:
Camera name: Give each camera a clear descriptive name — “Front Door,” “Backyard,” “Garage,” “Living Room.” When you have multiple cameras, clear names make it much faster to find the right feed.
Detection zones: For motion detection, configure which areas of the camera’s field of view should trigger alerts. Exclude areas with frequent movement (tree branches, a busy road) to reduce false alerts.
Alert sensitivity: Adjust the motion detection sensitivity. High sensitivity triggers on small movements; low sensitivity requires more significant motion. For outdoor cameras, a medium setting usually works best.
Recording schedule: Configure whether the camera records continuously, only when motion is detected, or on a defined schedule. Motion-triggered recording is most storage-efficient.
Step 4: Set Up Cloud or Local Storage
EseeCloud offers two storage approaches:
Cloud storage: Footage is uploaded to EseeCloud’s servers. This is the more convenient option — footage is accessible from any device and is not lost if a camera is stolen or damaged. Cloud storage typically requires a subscription beyond a short trial period.
Local storage (SD card): Most IP cameras accept a microSD card. EseeCloud can configure the camera to record to the local SD card and you can access this footage through the app. This requires no ongoing subscription but footage is only accessible when the camera is reachable and the card has not been removed.
For home security, a combination of both is ideal: cloud storage for recent critical events (so footage is preserved even if the camera is tampered with) and local SD card storage for extended historical recording.
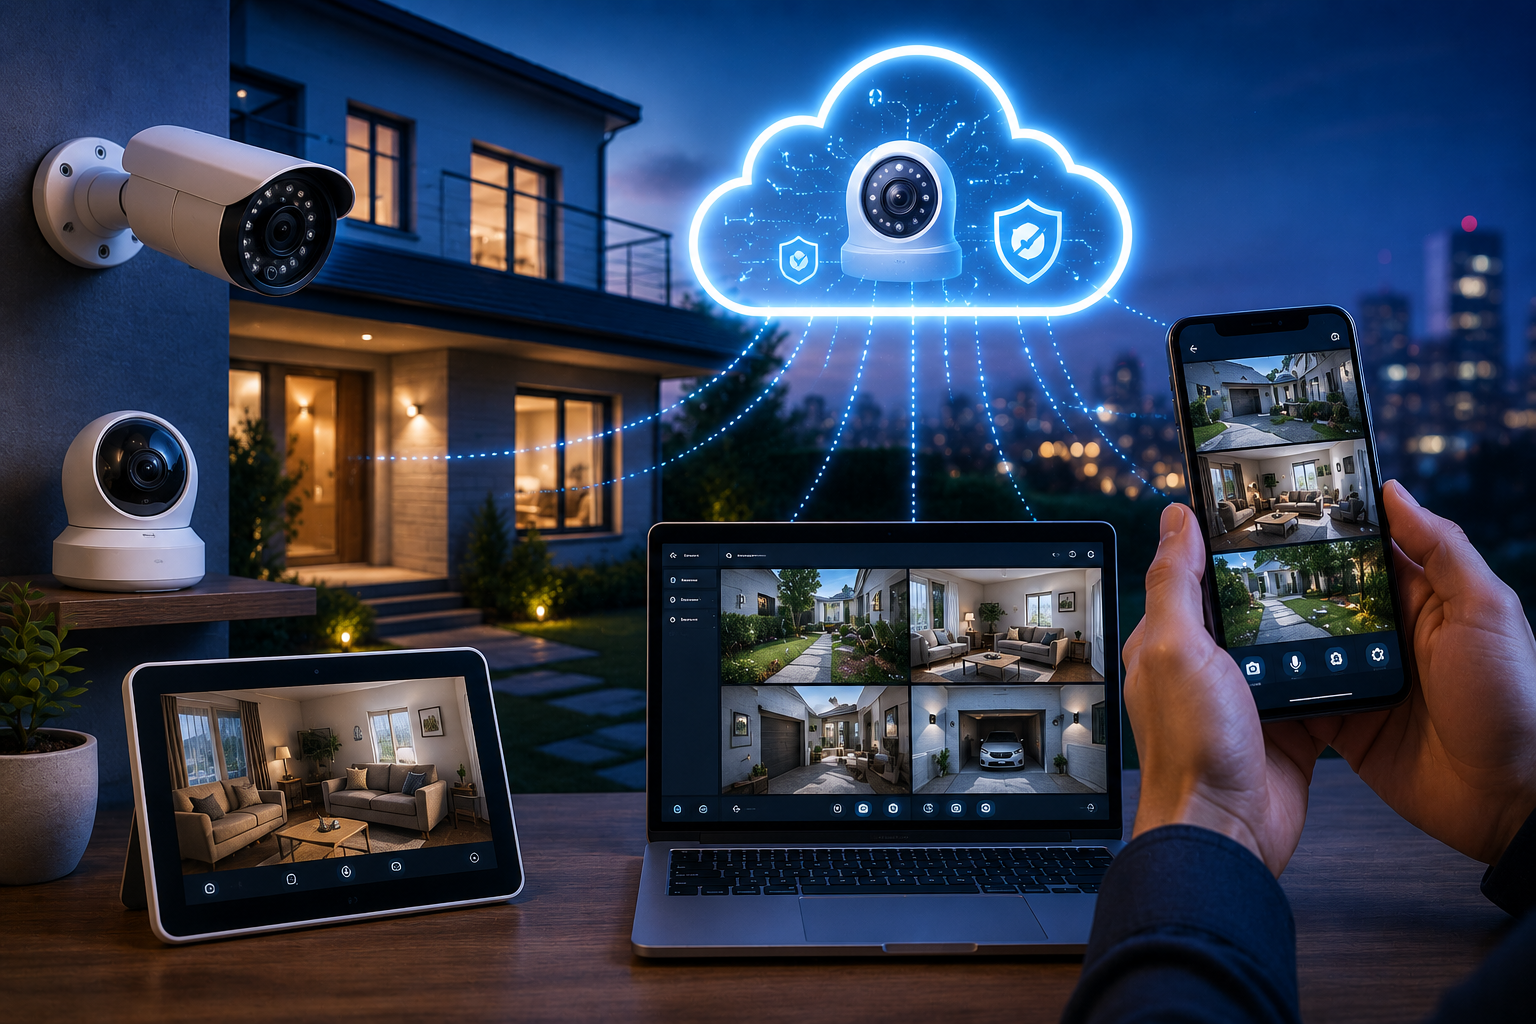
Viewing Your Cameras: The EseeCloud Monitoring Experience
Live View
The main screen in EseeCloud shows all your connected cameras as tiles. Tap any tile for a full-screen live view of that camera. The feed refreshes in real time with minimal latency — usually 0.5–3 seconds of delay depending on your connection quality.
Live view options include:
- Zoom: Pinch to zoom on the live feed for a closer look
- Snapshot: Capture a still image from the live feed
- Record: Start manual recording of the live feed to your device or cloud
- PTZ controls: If your camera supports pan-tilt-zoom, directional arrows appear for camera movement
- Two-way audio: Activate the microphone to speak through the camera’s speaker (on cameras with this capability)
Multi-Camera View
EseeCloud supports split-screen viewing for monitoring multiple cameras simultaneously. In the main device list, look for the Multi-View or Split Screen mode. You can display 2, 4, or more cameras simultaneously — useful for a monitoring station setup on a tablet or large screen.
Motion Alert Notifications
When motion detection triggers, EseeCloud sends push notifications to all authorized devices connected to your account. Notifications include:
- Time of the detected event
- Camera name
- A thumbnail preview of the detected motion
Tapping the notification opens the EseeCloud app and loads the recording from the moment of detection. This allows you to quickly assess whether an alert is a genuine concern or a false alarm.
Configure notification preferences in the app settings. You can set quiet hours (no notifications during sleeping hours), select which cameras send notifications, and choose the notification types (push notification, email, or both).
Historical Playback
For reviewing footage after an event:
- Select the camera whose footage you want to review.
- Tap the Playback or History icon.
- Use the calendar to select the date.
- The timeline shows when recordings are available (continuous recording fills the timeline; motion-triggered recording shows event marks).
- Drag along the timeline or select specific events to play back.
EseeCloud’s playback includes speed controls (fast forward through overnight footage) and the ability to download specific video clips for sharing or reporting to authorities.
Sharing Access With Family Members
One of EseeCloud’s useful home security features is multi-user access. Rather than sharing your account credentials, you can grant access to family members through the sharing feature:
- Open the camera’s settings in EseeCloud.
- Find the Share or Shared Users section.
- Enter the email address of the person you want to grant access.
- Choose their permission level — view only, or full control.
- They will receive an invitation to access the camera through their own EseeCloud account.
This approach allows each household member to monitor the same cameras without knowing your account password.
Optimizing Camera Placement for Home Security
Software configuration is only part of effective home security. Camera placement makes a significant difference:
Front door: Position the camera at roughly 7–8 feet height looking downward to capture faces and activity. Avoid pointing it directly into bright sunlight, which can obscure faces.
Backyard and garden: Cover entry points (gates, fences, back doors) rather than trying to cover the entire space with a single camera. Overlap coverage between adjacent cameras to eliminate blind spots.
Garage: A camera covering both the garage door and the path to the house covers two common entry points at once.
Living room / entry hall (interior): Interior cameras deter theft and provide evidence if an external camera is bypassed. Angle to cover the maximum floor area while keeping cameras visible enough to deter tampering.
Night vision: Ensure cameras used in low-light areas (exterior at night, dark garages) have infrared or color night vision capabilities.
EseeCloud Privacy and Security Considerations
Home security cameras capture significant amounts of private information. Protecting that information is important:
Use a strong, unique password for your EseeCloud account. If your account is compromised, someone else can view your camera feeds.
Enable two-factor authentication if EseeCloud offers it — this adds a second verification step when signing in from a new device.
Keep cameras and the EseeCloud app updated. Updates address security vulnerabilities that could otherwise be exploited to access your footage.
Review who has shared access to your cameras periodically. Remove access for people who no longer need it.
Consider what cameras record. Interior cameras in bedrooms or bathrooms create significant privacy concerns. Most home security setups focus on entry points and common areas, which is sufficient for security purposes.
Be transparent with household members and guests that cameras are in operation. Many jurisdictions require disclosure when recording people, and transparency builds trust.
Troubleshooting Common EseeCloud Issues
Camera Shows Offline in the App
- Check that the camera is powered on and its indicator light is on.
- Verify the camera is connected to Wi-Fi (check your router’s connected devices list).
- If the camera recently changed Wi-Fi networks or the router was replaced, the camera needs to be reconnected to the new network through the app’s setup process.
- Restart the camera by unplugging and replugging the power cable.
Live View Freezes or Is Slow
- Improve the Wi-Fi signal at the camera’s location (closer to the router, or through a Wi-Fi extender).
- In camera settings, reduce the video stream resolution (1080p requires more bandwidth than 720p).
- Check your home’s upload bandwidth — cameras uploading HD video to the cloud require sufficient upstream bandwidth.
Motion Alerts Triggering Too Often (False Alarms)
- Reduce motion detection sensitivity in the camera settings.
- Configure detection zones to exclude areas with frequent movement (trees, roads, shadows from sunlight).
- Enable motion filters that ignore small objects (insects, birds) if your camera supports this.
For downloads and more resources, visit eseeclouddownload.com.